Email Builder - Advanced features
Let's dive into more advanced email features that will allow you to customize your emails even more.
We'll start by clicking on Content>Email Builder:
Then:
- Click on the 3 dots button you'll see on the lower right corner of your emails.
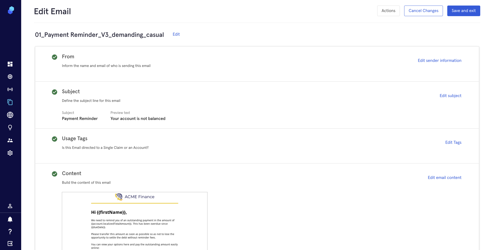
- Next, click on 'Edit'
- There are different fields we can edit:
- From
- Subject
- Usage Tags
- Content
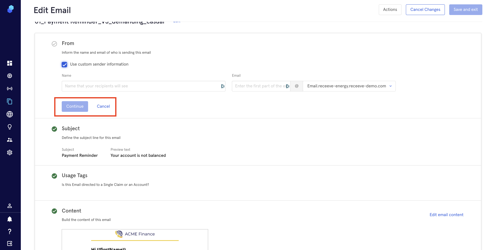
From
This field contains the sender information.
To edit it, click on the 'Edit Sender Information' button.
If you'd like to use custom sender information:
- Click the check box
- You'll see two additional fields:
- Sender name, the name that your recipients will see.
- Email. The email domain you'll be using.
- Click on 'Continue' to proceed, or click 'Cancel' to exit without making changes.
Subject
This field contains the subject line. To edit it, click on 'Edit Subject'.
This is what you'll see:

Click on 'Continue' to proceed or 'Cancel' if you don't want to make any changes.

Usage Tags
- To edit your Usage Tags, click on 'Edit Tags'
- Add your tags and click on 'Continue'
Content
To edit the content of your email, click on the 'Edit Email Content' button.
The editor within the 'Email Builder' will open up. For more information on how to create an email, please read this article.
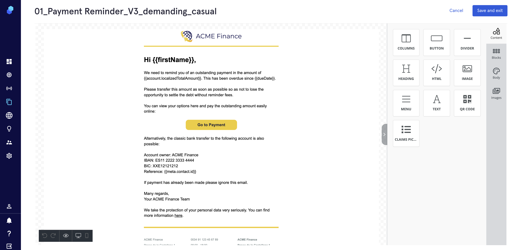
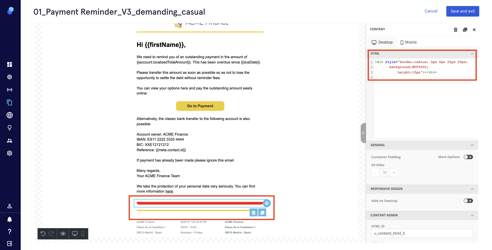
Put a background with rounded corners using HTML
- Drag and drop the HTML content block into your email.
- In the HTML field enter the following code for upper end rounded corners:
<div style="border-radius: 20px 20px 0px 0px;

background:#FF0000;

height:10px"></div>
It should look like this:
Please note that the rgb code added in the example (#FF0000) will change the box color to red. You can change the color by changing the rgb code.
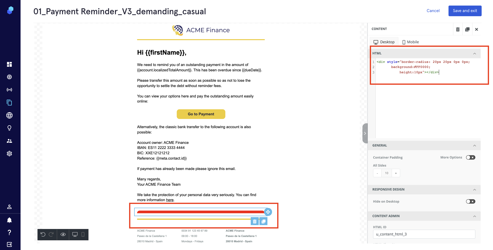
For rounded lower corners enter the following code in the HTML field:
<div style="border-radius: 0px 0px 20px 20px;

background:#FF0000;

height:10px"></div>