How to create a landing page
Step-by-step instructions on how to create a landing page using the receeve platform
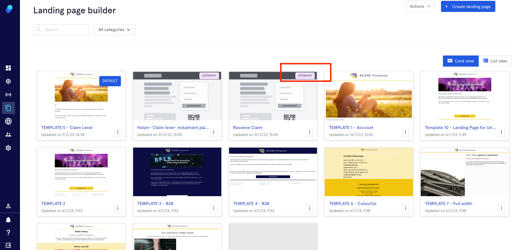
To start, click 'Content' on the main menu and click 'Landing page builder'.
Here you'll see the landing pages you've previously created. There are 2 different views available:
- Card view
- List view
You'll be able to edit, clone or delete an existing landing page:
Creating a new landing page
- Click on the 'create landing page' button on the top right. A modal will open up.
- You can:
- Choose a template to begin editing.
- Build a landing page from scratch.

Editing an existing template
- Click on the template
- Name the landing page
- Define the title
- Choose between Account-level or Claim-level Landing Page
- Edit content
Building a landing page from scratch
Follow the same steps described above:
- Click on 'Build from Scratch'
- Name de landing page
- Define the title
- Choose between Account-level or Claim-level Landing Page
- Build Content
This is the Landing Page builder. This is where we create and give structure to our landing page. There are four different editing sections:
- Blocks
- Content
- Body
- Images
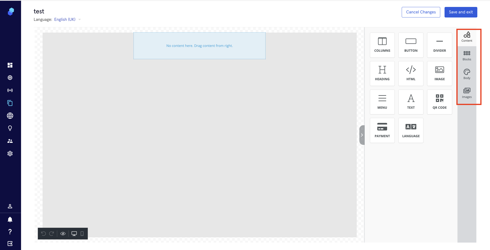
Blocks
Blocks are the foundation of the landing page layout.
- Click on blocks to start adding columns and rows
- Drag and drop the blocks from the right to the center
- You can also duplicate/delete the blocks by clicking on them and then selecting:
- The trash to delete
- The copy to duplicate
To access row/column settings, hover with your mouse cursor outside the content area of a row and just click:
Content
You can add content components by dragging and dropping them into rows/columns.
Now, we can enter our landing page content.
- To upload an image, click on the image content block and:
- Click on the dotted area to upload the image or drag-and-drop your image to this area or
- Copy-paste the image URL
We recommend using files with the format .PNG or .JPG
- To add text, click on the text block, enter your text and use the context menu to format it.
3. To replace the static text with dynamic placeholders mark the text you want to replace, click on merge text and select the tag that represents the data field you want to insert.
4. To change the text on the button, click on it and use the context menu to make changes.
To change button size, background color and text color, use the button options in right-hand side menu.
Body
We offer the ability to customize a landing page with your own colors, branding and messaging.
- To change the background color, go to 'body' > 'background color'. A color menu will open up where you'll be able to choose from the colors shown. You can also add a HEX or RGB code.
- To change the text color, go to 'body' > 'text color' to change this setting. Again, use the menu or add a HEX or RGB code.

For more information on colors please read this article.
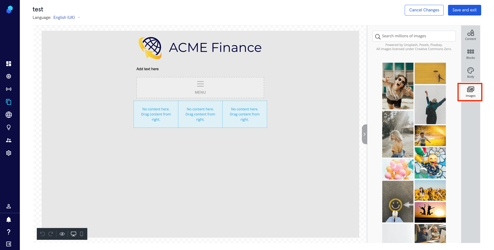
Images
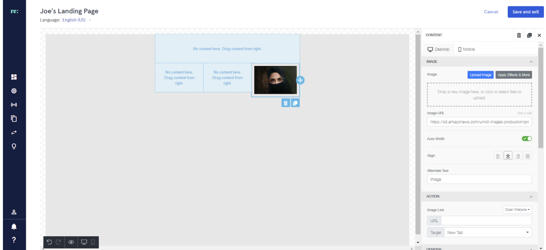
There's an image library available. To access click on the 'image' section.
Drag and drop an image onto a block. Click on the image so you can adjust width, alignment, possible actions, and other design settings
For more information on how to include images in your landing pages, please read this article.
Categories
This feature will help you keep your landing pages organized. Let's suppose you'd like to group some of them per country, or any other characteristic. This is the process you'll follow:
- Select the landing pages by clicking on the checkbox you'll find on the top left of each thumbnail.
- Click on the actions menu
- Select 'Assign category to selected'
- Choose category from the dropdown or
- Create a new category
- The thumbnail will now display the category (top right) or in the 'category' column depending on the view (card/list)
You can also delete/add a category while editing your landing page.