Messaging Builder -How to create messages using the receeve platform
The Messaging Builder allows you can create messages which you can send via SMS or Whatsapp.
To start, click on 'Content' in the main menu, and then select 'Messaging Builder'
You'll see the messages you've previously created here. You'll be able to choose a 'Card View' or a 'List View':
By clicking on the 3 dots in the bottom right corner (Card view) or in the Actions dropdown (List view) you'll be able to:
- Edit an existing message
- Clone an existing message
- Delete an existing message
Creating a new message
- Click on the 'Create' button (top right); you'll be directed to the 'Create message' screen.
- Name of the template: Add the name to identify your template in the platform.
- From: The name the debtor will see when receiving the message. The available names are defined in Configuration during the Provider setup. If your service provider allows to use custom name, you’ll be able to do so in this step.
- Categories: You can tag this template with any available category or create a new one (more information in the next section)
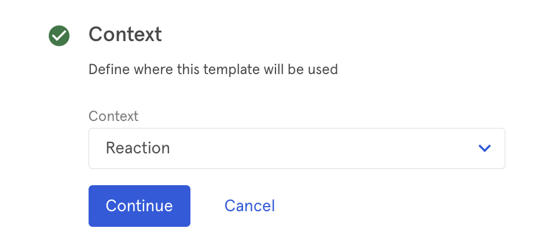
- Context: Choose a specific pre-defined context for your message. You can choose between the Account Manager, the Strategy Builder or Reactions. Please note that:
a) The configuration screen of the features listed above will only show templates created within the context. Eg: if you're in Reactions, only the messages created within the context 'reactions' will be available.
b) There are general, optional and context-specific placeholders. Eg:{{firstName}} is a placeholder you can use in every context while {{reaction.clientId}} is context-specific (reactions in this case):
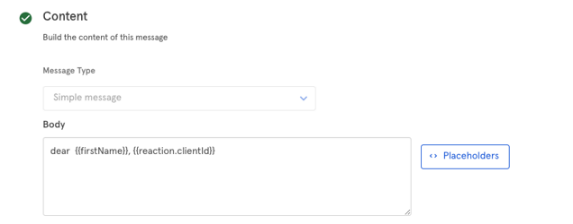
- Content:
a) First, define if it’s a simple text message or an advanced message defined outside receeve. In this case you'll need to match template ID's and you'll be able to add up to 15 variables.
Please note that having the choice of sending simple/advanced messages will depend in on the service you contract with your provider (ie: Meta)
b) Once you choose what type of message you'll be sending, you'll be able to add the content of the message. You can add placeholders (optional)
- Click on 'Continue' and then 'Save' on the top right or
- Click 'Cancel' to exit the message without implementing any changes.
Categories
This feature will help you keep your messages organized. Let's suppose you'd like to group some of your messages, this is what you'll do:
- Select the messages by clicking on the checkbox you'll find on the top left of each thumbnail.
- Click on the actions menu
- Select 'Assign category to selected'
- Choose category from the dropdown or
- create a new category
- Click 'Save' to save the changes or
- Click 'Cancel' to exit without implementing changes