Claim Page
This is what you'll find when selecting a specific claim:
On the top right you'll find, the 'Actions' menu and the 'Save' button and the 'View on Landing Page' buttons.
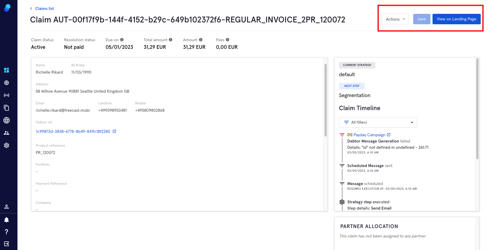
Let's describe what these buttons and dropdown do:
The Actions menu
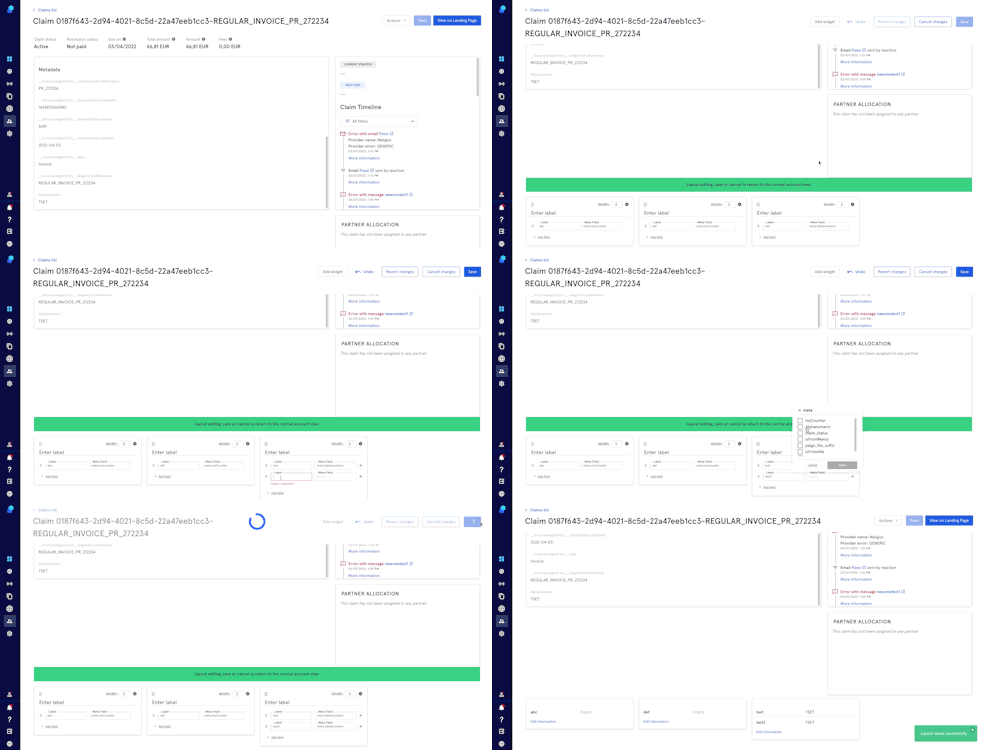
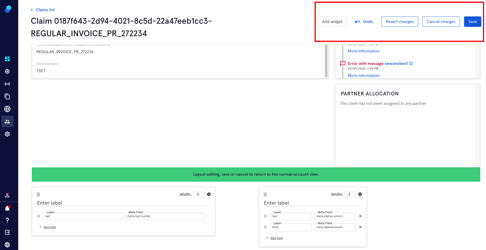
Here you can: 1. Edit layout: click on Add widgets to add a new widget with custom metadata
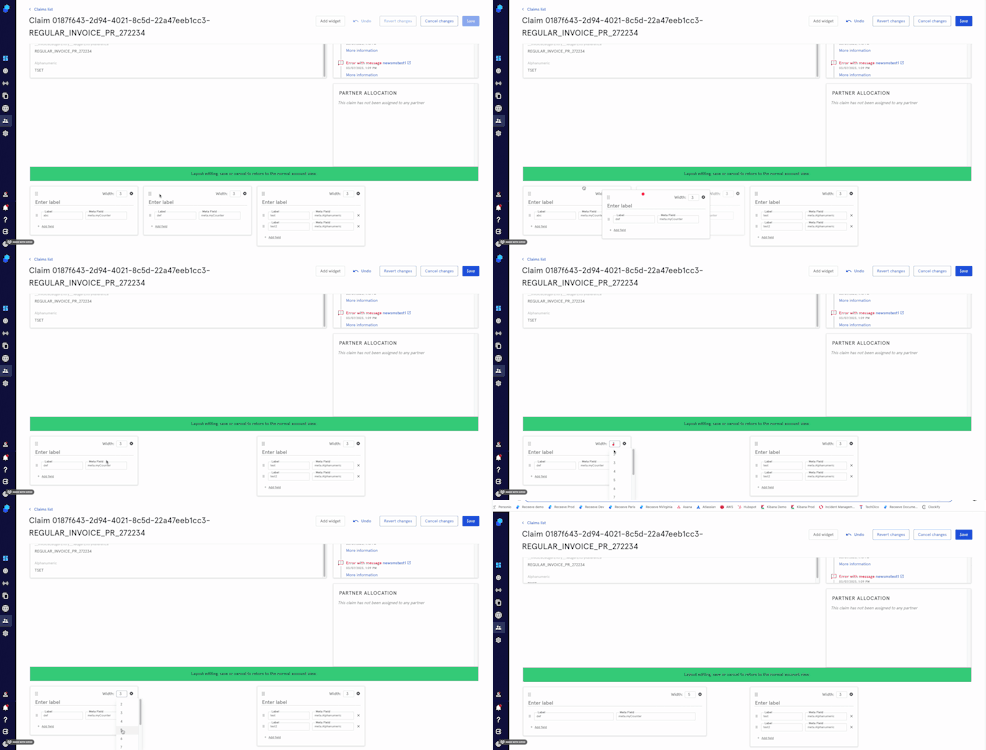
You can also move the widgets and change their size here:
On the top right you'll see the Undo, Revert changes, Cancel changes and Save buttons on the top right.
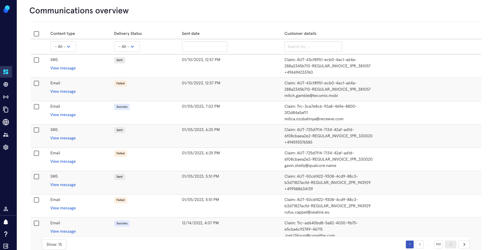
- View Communication sent
By clicking on this option you'll be redirected to 'Communications overview'
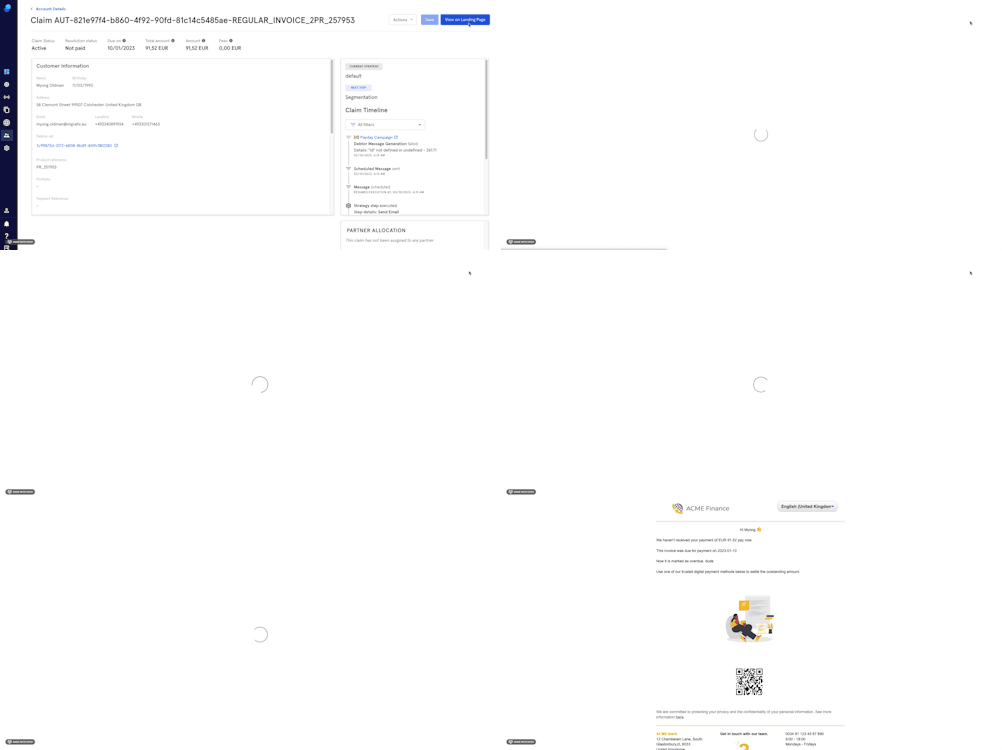
View on the landing page
This button will show the landing page of the claim you're checking
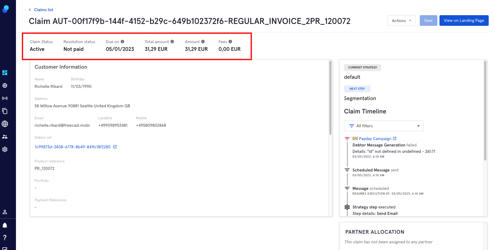
Claim Summary
At the heading of the page, you will see the Claim Status, Resolution Status, Due on,Total Amount, Amount, and Fees.
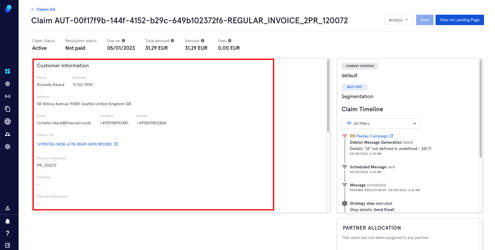
Customer Information
On the left section, you will see the Customer Information including their Name, Birthday, Address, Email, Landline, Mobile, Debtor reference, Portfolio, Payment Reference and Company.
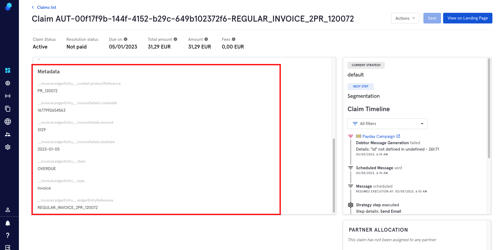
Metadata
You will also see the Metadata of the account:
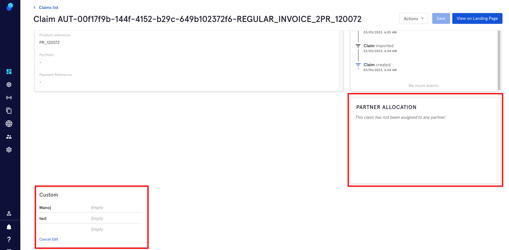
Partner Allocation and custom Metadata
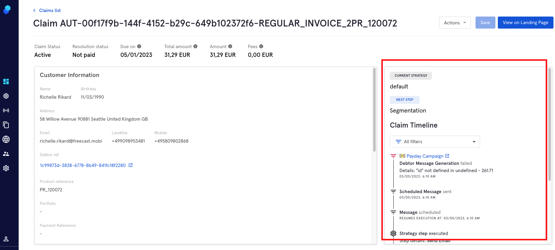
Claim Timeline
On the right section of the page, you will see the Current Strategy, Next Steps to take to move the claim, and the Claim Timeline.
Filtering
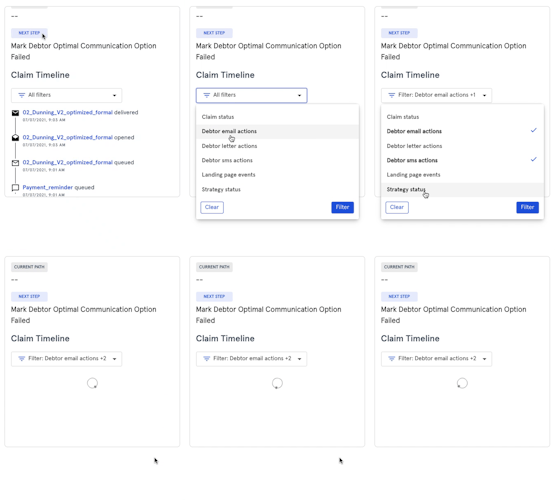
You can filter the timeline according to: Claim Status, Debtor email actions, Debtor sms actions, Landing page events, and Strategy status. To do this:
- Click the filter dropdown
- Select the filters you wish to use
- Click the button Filter
- Or, Clear to reset filters